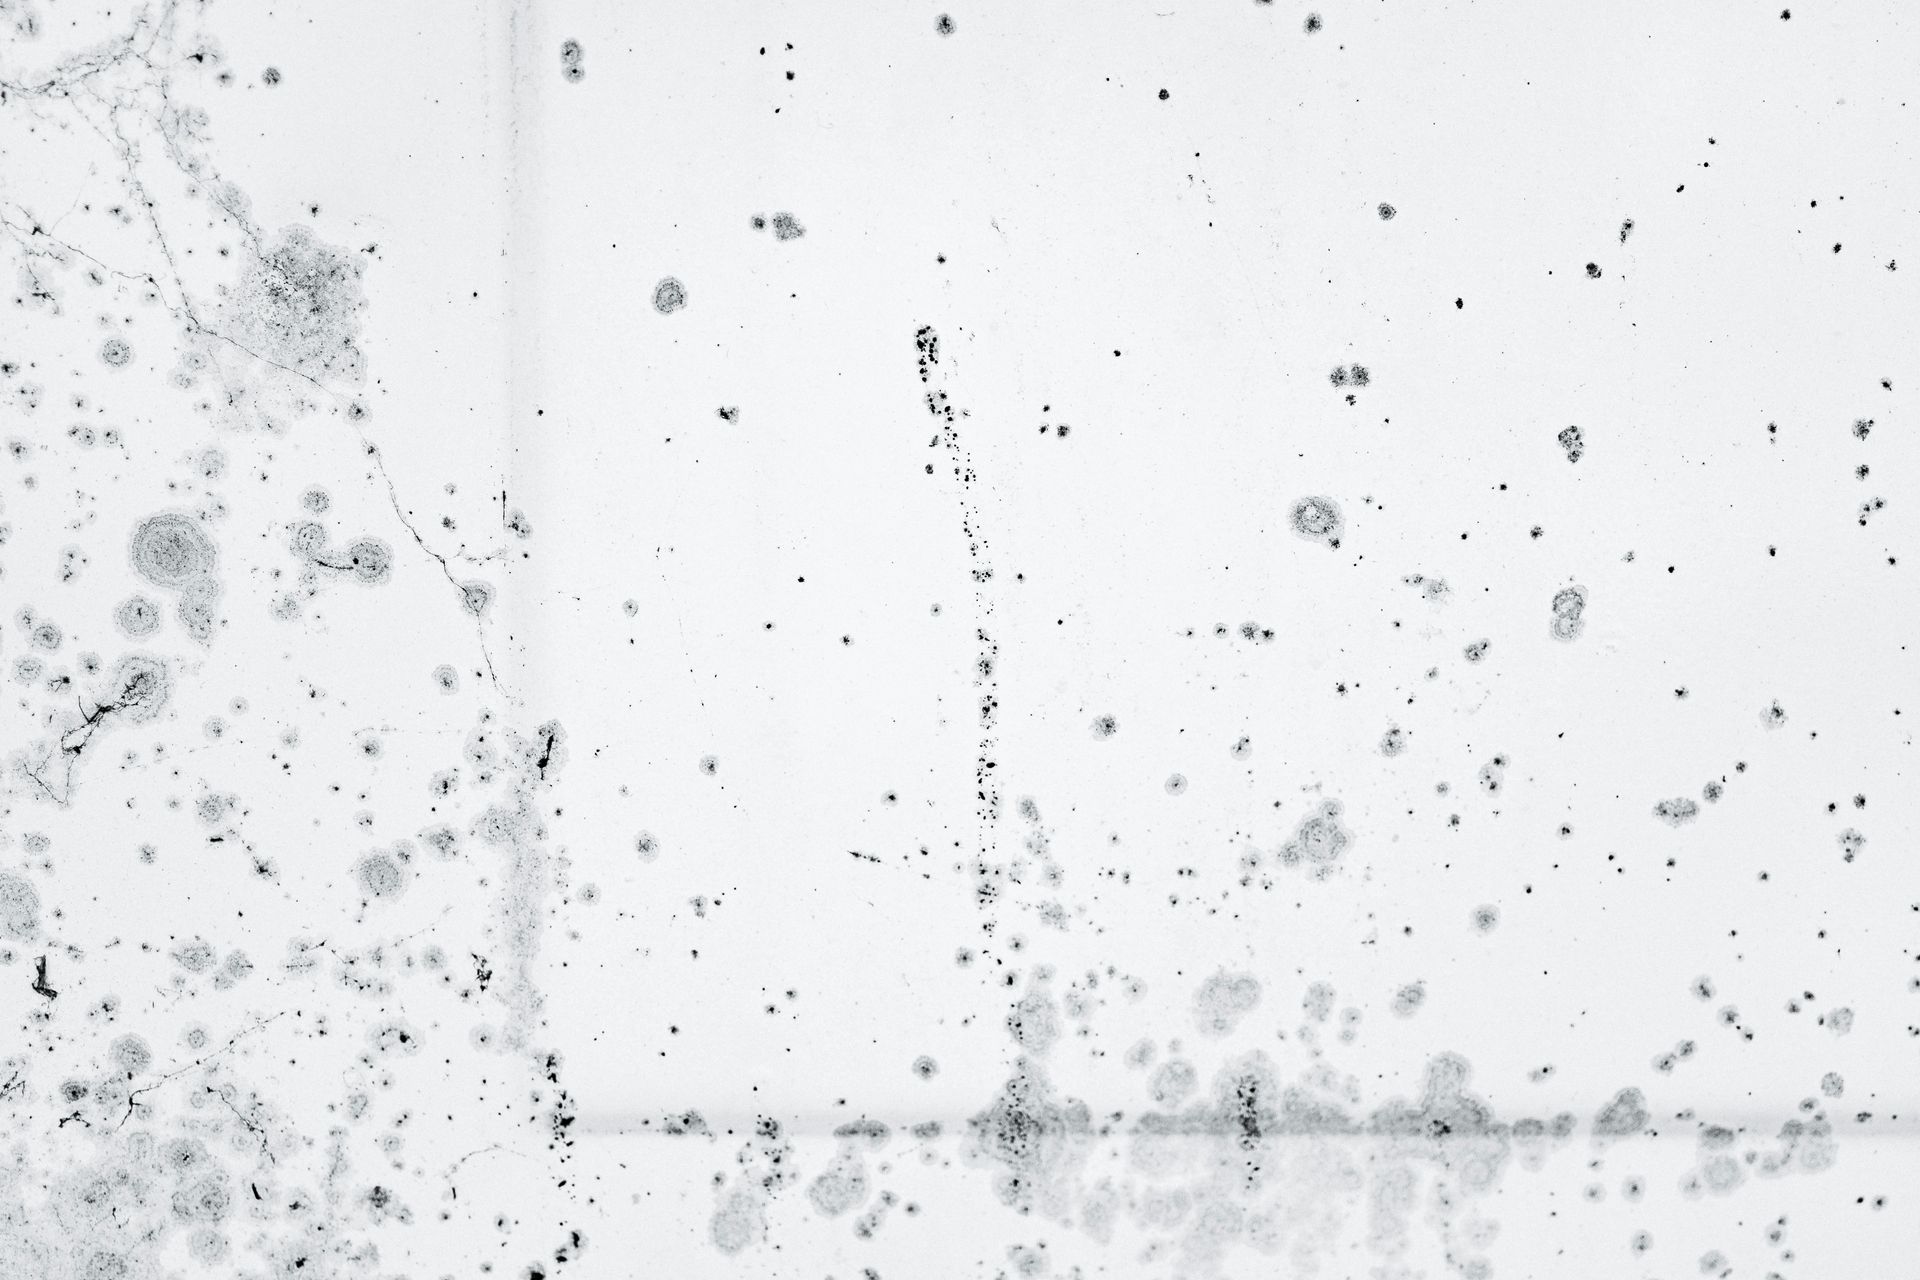
Is water hiding in your walls? Drywall moisture mapping after pipe bursts
When plumbing fails inside your walls, you face two immediate challenges: stop hidden structural decay and prove your loss to insurance adjusters. Guessing where water traveled often leads to costly coverage disputes, hidden framing damage, and incomplete dry-outs that compromise property value.
This guide gives you practical inspection steps, drying criteria, and insurance logging tools. It shows how partnering with Peachtree Mitigation in Duluth, GA for certified
water damage restoration protects your property and helps you resolve your claim with total peace of mind.
TL;DR: Key takeaways for property owners
- Water moves vertically and along baseplates inside wall cavities, so visual checks alone miss substantial pockets of trapped structural moisture.
- The EPA specifies that "it is important to dry water-damaged areas and items within 24-48 hours to prevent mold growth."
- Infrared thermal cameras and non-invasive moisture meters pinpoint hidden moisture boundaries without damaging finished surfaces.
Why pipe burst moisture hides behind drywall
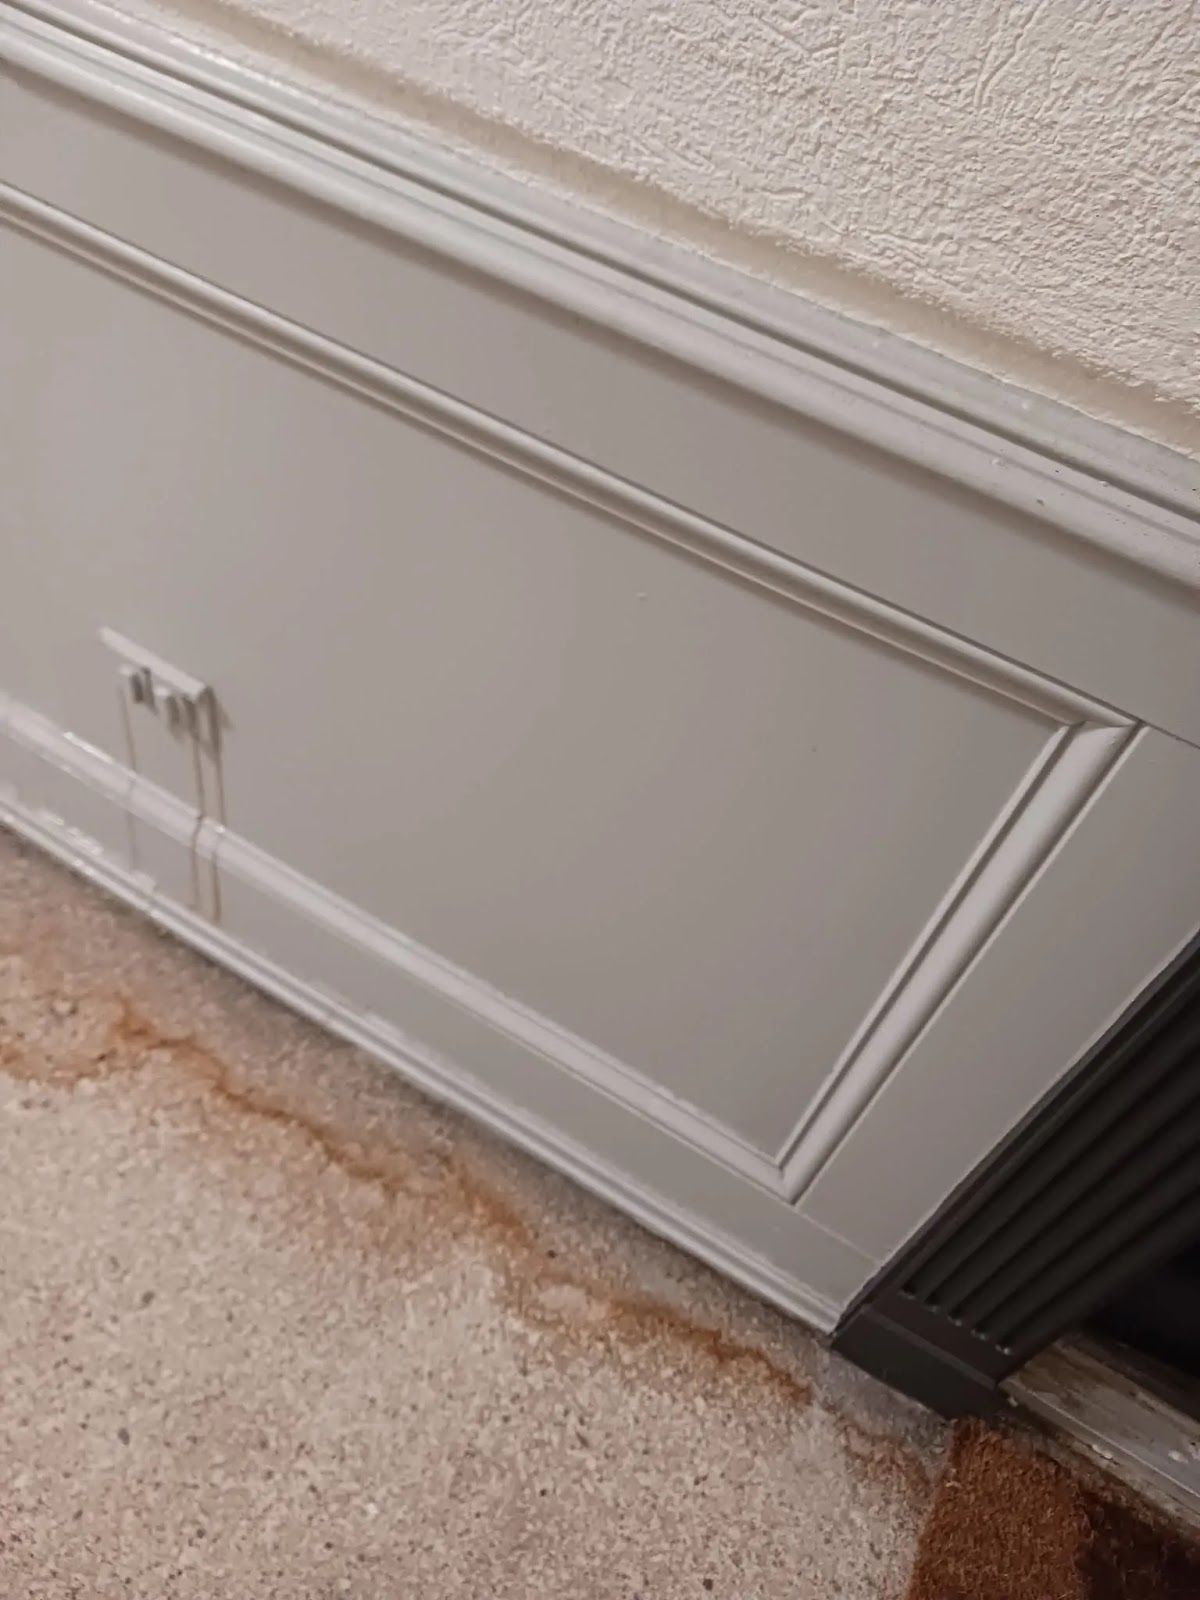
Gypsum board acts as an active sponge, drawing water upward through capillary action while trapping stagnant moisture in closed wall cavities.
When an indoor pipe bursts under normal municipal water pressure (typically 40 to 70 PSI), gallons of water discharge per minute into enclosed framing spaces. Porous drywall wicks water rapidly, often climbing 24 to 36 inches above finished flooring before exterior paint shows visible staining.
| Structural Layer | Moisture Behavior | Risk & Saturation Level |
|---|---|---|
| Drywall Face | Often dry to the touch on the exterior painted surface | Visual appearance masks hidden damage |
| Stud Cavity | Traps stagnant humidity (>85% Relative Humidity) | Creates a dark microclimate for fungal growth |
| Fiberglass Batt | Absorbs and retains water like a dense sponge | Prevents ambient airflow from drying wooden framing |
| Bottom Plate | Liquid pools by gravity along the sill plate | Moisture content spikes to critical levels (25%–35% MC) |
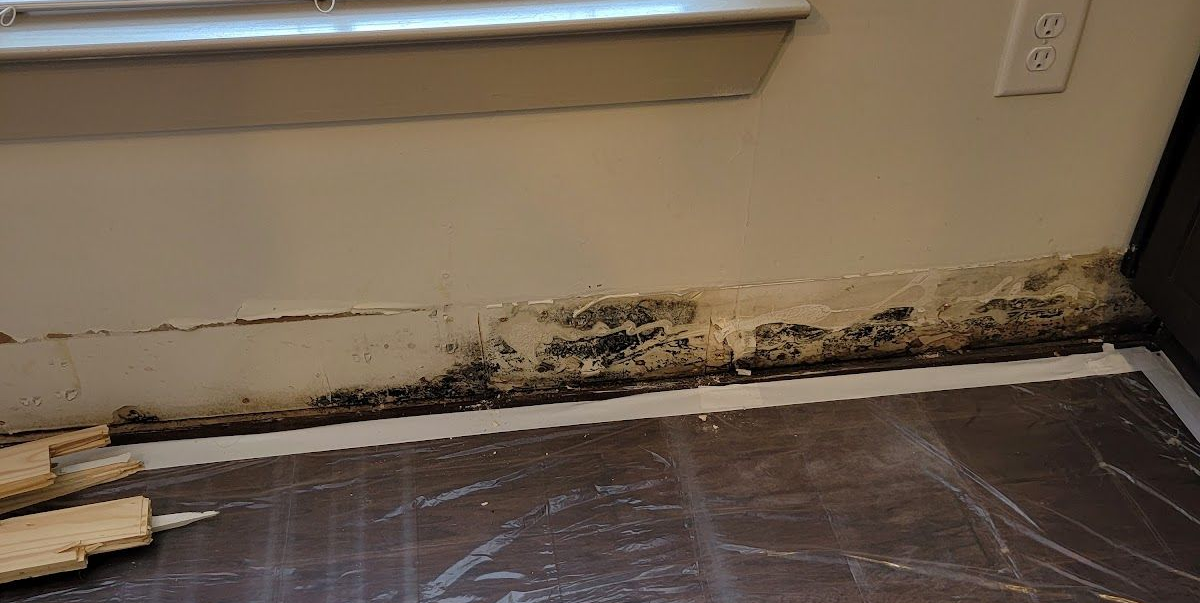
Behind the wallboard, fiberglass and cellulose insulation absorb liquid, holding dense moisture against wooden framing members. According to the EPA Guide to Mold, Moisture, and Your Home, property owners must "clean and dry any damp or wet building materials and furnishings within 24-48 hours to prevent mold growth." Because interior drywall paper facing provides an abundant food source in a dark, stagnant microclimate, structural cavities become prime environments for fungal colonization long before musty odors enter living areas.
The three-phase moisture mapping protocol
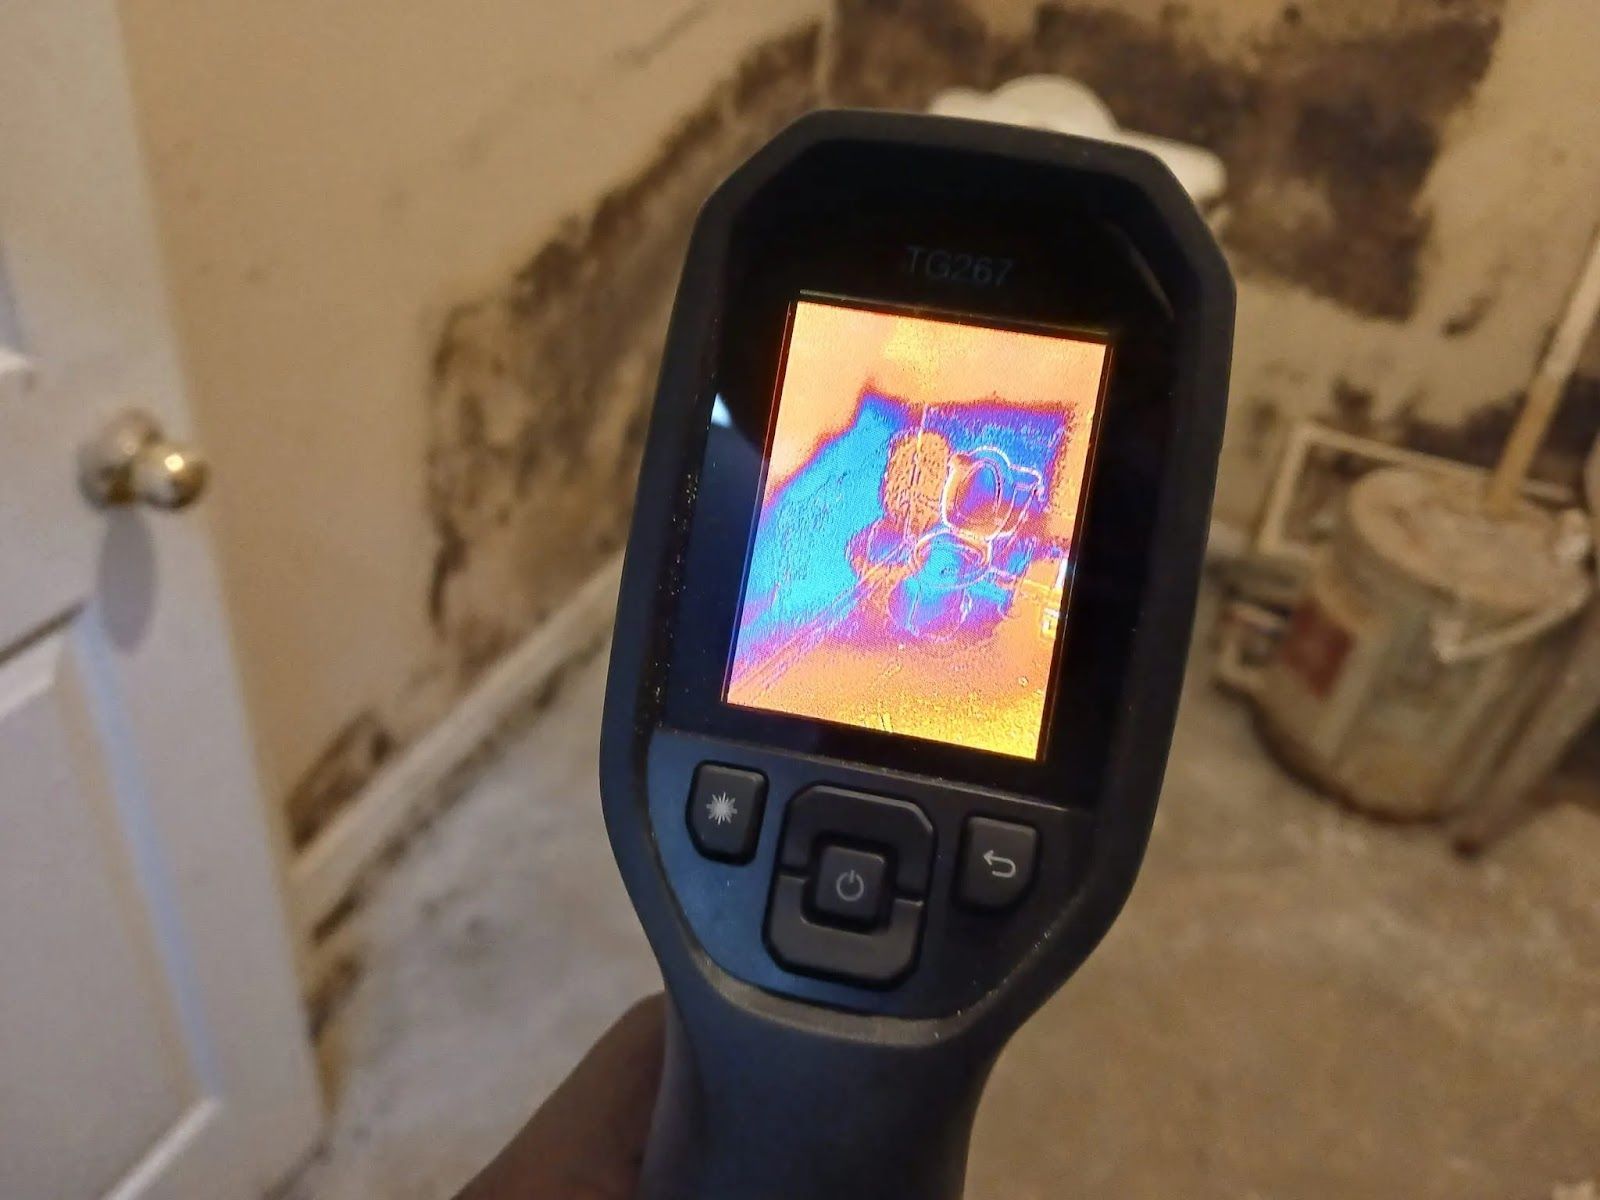
Map moisture systematically through non-destructive surface scanning, pin-depth testing, and continuous drying monitoring.
Restoration professionals do not guess where water traveled; they establish baseline dry standards and chart moisture gradients across affected structural assemblies. Following standards defined in the
ANSI/IICRC S500 Standard for Professional Water Damage Restoration, certified technicians execute a structured three-phase assessment.
- Phase 1: Thermal Imaging Scan — High-resolution infrared cameras detect surface temperature drops caused by evaporative cooling to map the moisture boundary.
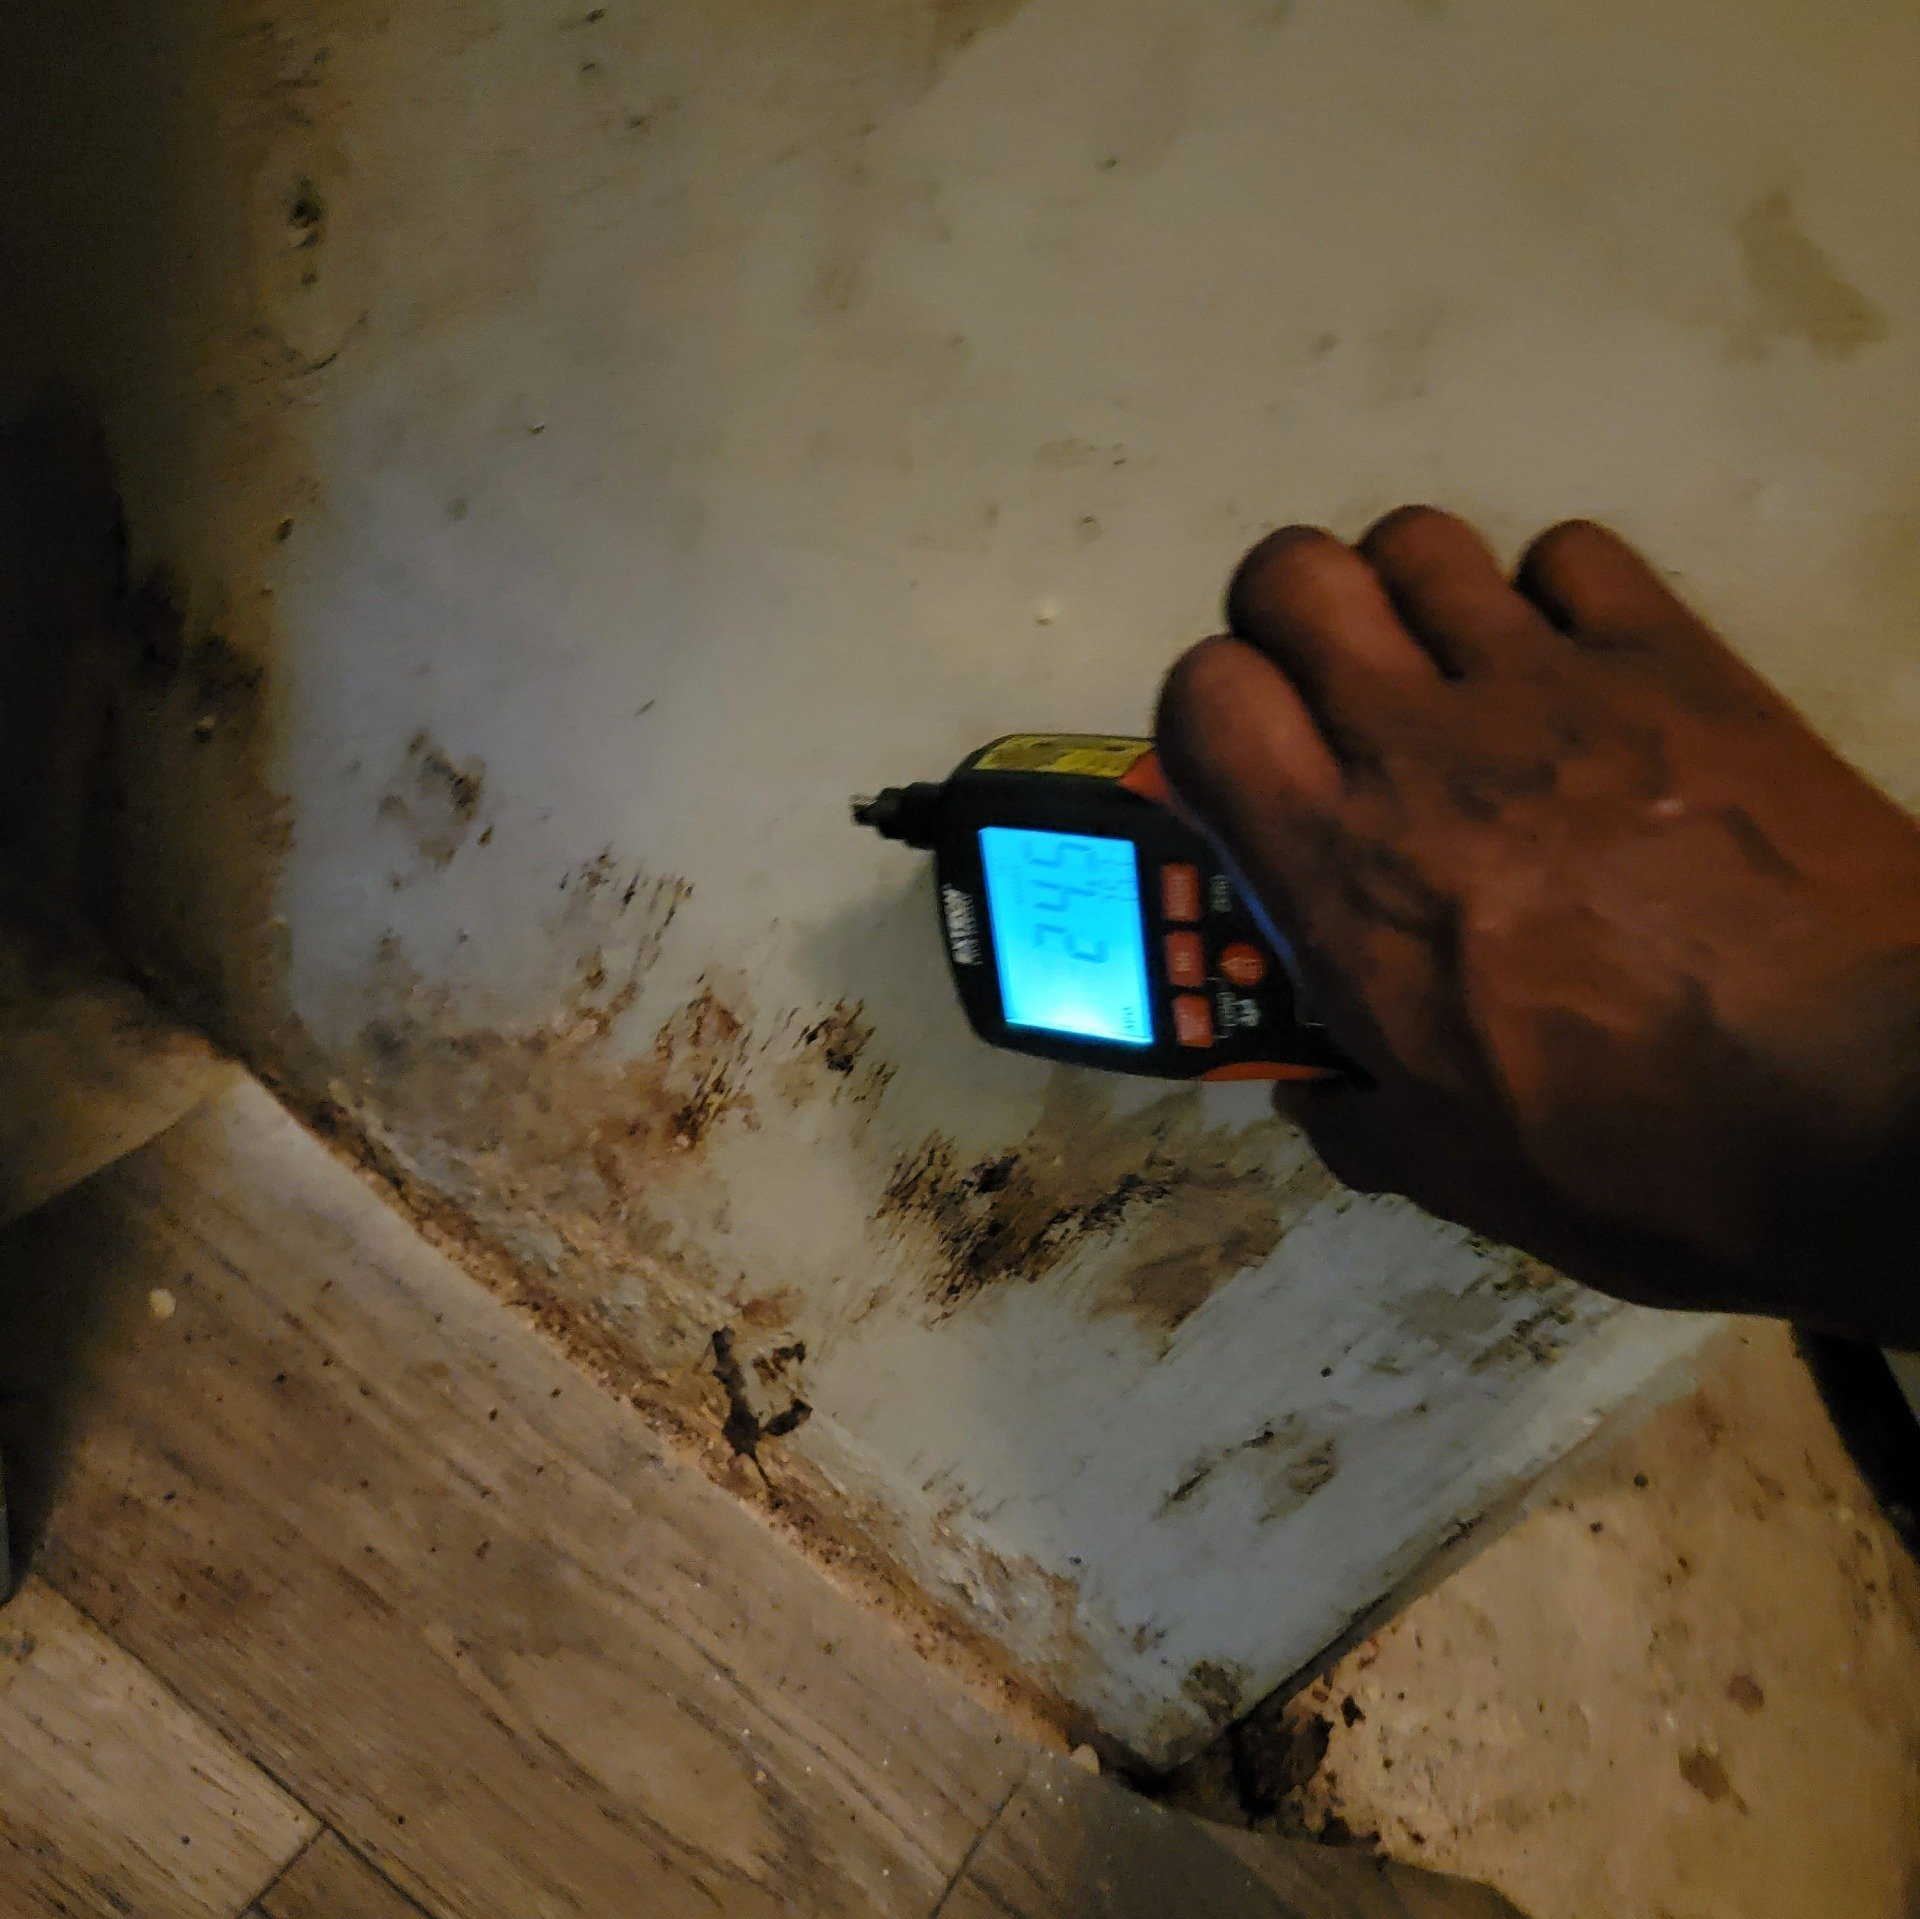
- Phase 2: Non-Invasive Surface Mapping — Dielectric sensors scan beneath drywall and flooring up to 0.75 inches deep without damaging finished surfaces.
- Phase 3: Invasive Pin Calibration — Insulated resistance probes measure exact electrical conductivity inside baseplates to confirm structural moisture content (% MC).
1. Infrared thermography inspection
Scan structural surfaces with high-resolution thermal imaging cameras to detect temperature differentials caused by evaporative cooling. As water evaporates from moist drywall, the affected areas present as distinct cooler anomalies (typically 2°F to 5°F below ambient dry materials) on the infrared spectrum, immediately outlining the boundary of the moisture plume.
2. Non-invasive surface scanning
Use non-destructive surface sensors to scan up to 0.75 inches beneath drywall, tile, and hardwood without puncturing finished surfaces. This allows technicians to track the perimeter of water migration across walls and subflooring without cosmetic damage.
3. Penetrating resistance pin probes
Drive insulated pin probes directly into the baseplate and bottom of wall studs to measure exact electrical resistance. These readings confirm whether wooden framing members have exceeded critical saturation thresholds.
Moisture thresholds and building material diagnostics
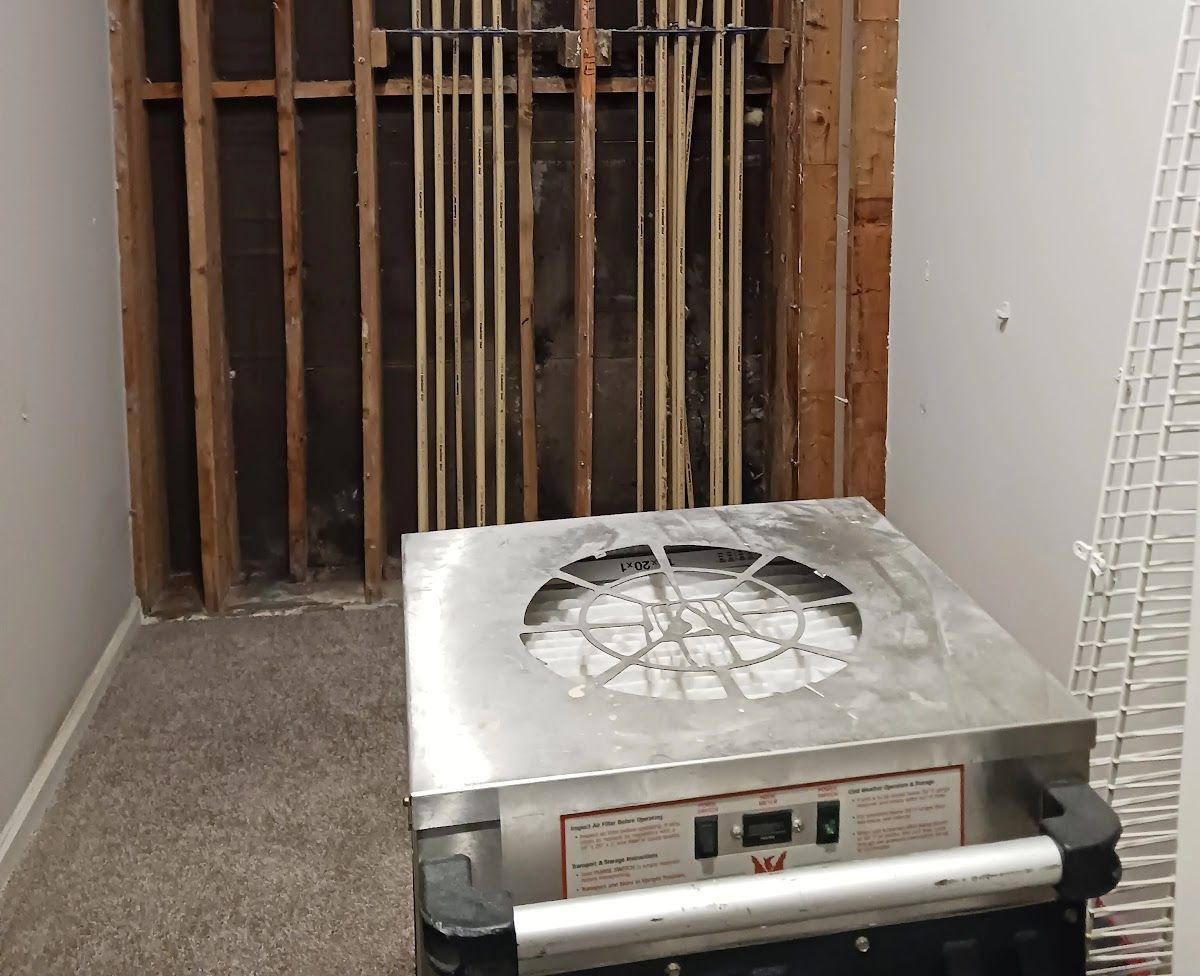
Compare material readings against unaffected dry standards within the same structure to determine whether assemblies can dry in place or require controlled removal.
Building materials respond differently when exposed to pressurized water leaks:
| Building Material | Dry Standard Baseline | Elevated / At-Risk Threshold | Saturation (Action Level) | Remediation Protocol |
|---|---|---|---|---|
| Standard Gypsum Drywall | < 0.5% Moisture Equivalent | 0.6% – 1.0% | > 1.0% or Delaminating | Cavity air injection or flood cuts 12" above water line |
| Softwood Framing (Studs/Plates) | 10% – 12% Moisture Content | 16% – 19% | > 20% (Fungal Growth Risk) | Targeted dehumidification and structural heat drying |
| Plywood Subflooring | 10% – 12% Moisture Content | 15% – 18% | > 19% (Delamination Risk) | Direct subfloor extraction and bottom-up drying |
| Oriented Strand Board (OSB) | 8% – 11% Moisture Content | 14% – 16% | > 18% (Irreversible Swelling) | Extended low-humidity drying or structural replacement |
According to the USDA Forest Products Laboratory Wood Handbook, "growth of decay fungi can be prevented by drying wood to a moisture content of 20% or less and keeping it dry." Maintaining documented moisture logs ensures drying systems bring structural materials back down to their equilibrium moisture content (EMC) of 10% to 12%.
In-place cavity drying vs. controlled flood cuts
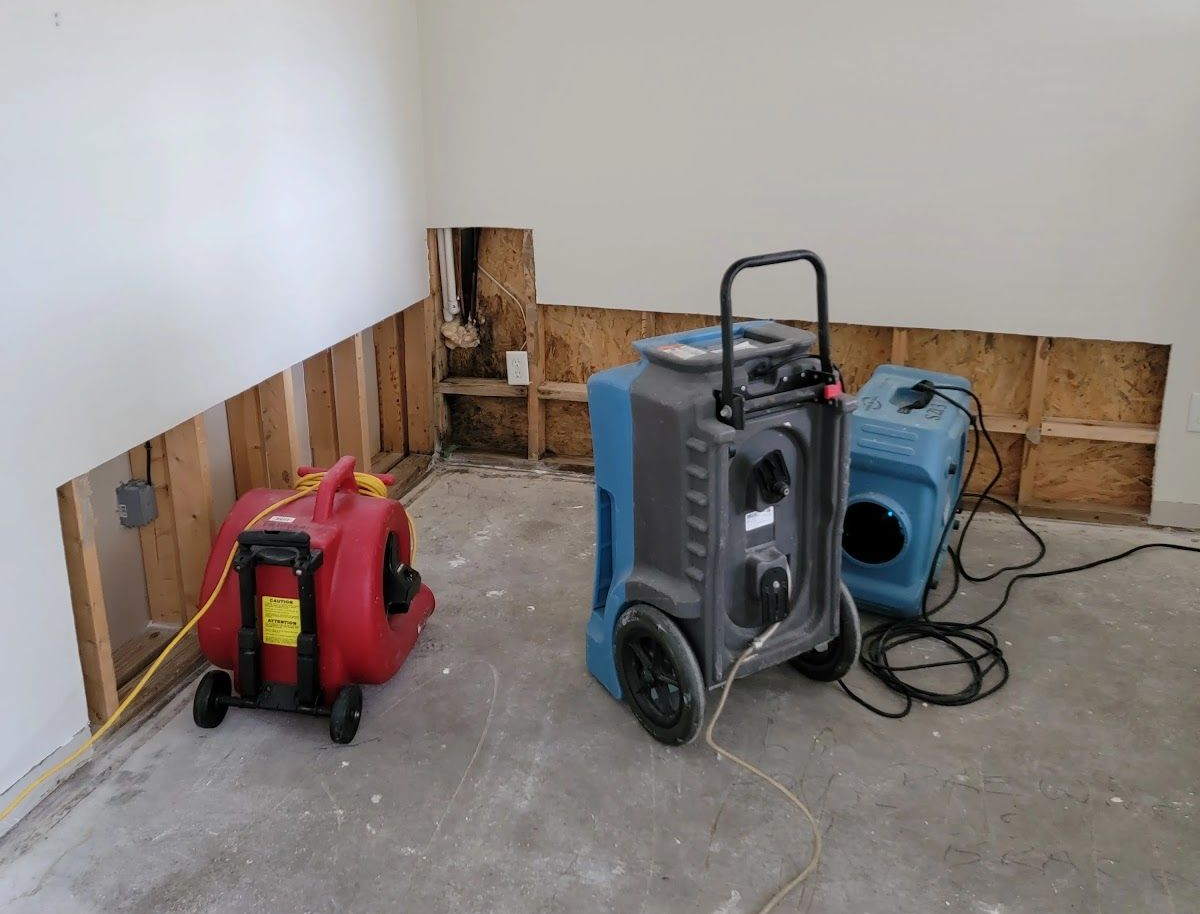
Choose between non-destructive cavity air injection and physical flood cuts based on water classification, contamination levels, and insulation types.
When dealing with clean water supply line failures (Category 1 water), structural components can frequently be preserved using specialized drying systems if addressed within the initial 24-hour window.
| Water Category & Wall Assembly | Recommended Drying Protocol | Structural Preservation Outcome |
|---|---|---|
| Category 1 (Clean Water) + Uninsulated Cavity | Non-destructive cavity air injection (via discreet baseboard access holes) | Drywall preserved intact; in-place structural drying |
| Category 1 (Clean Water) + Wet Insulation | Controlled horizontal flood cut (12"–24" above moisture line) | Saturated insulation removed; framing sanitized & dried |
| Category 2 or 3 (Gray / Black Water) | Mandatory flood cut and material removal | Contaminated drywall removed; full antimicrobial treatment |
Option A: Non-destructive cavity drying systems
Remove baseboards and drill tiny access holes concealed entirely behind your trim line when moisture mapping indicates water entered uninsulated stud cavities. Commercial high-pressure cavity drying systems force warm, dry air into the enclosed space while exhausting wet air into the room's dehumidification field, completely drying the framing without removing drywall sheets.
Option B: Controlled flood cuts (When insulation is wet)
Make clean horizontal flood cuts precisely 12 to 24 inches above the highest moisture reading when wall cavities contain wet fiberglass batt insulation. Wet insulation compresses and mats against framing, acting as a continuous moisture sponge that prevents non-invasive drying. Strategic flood cuts allow for:
- Full extraction of water-saturated insulation.
- Direct physical sanitization of exposed framing using EPA-registered antimicrobial agents.
- Unobstructed high-velocity airflow across wet sill plates and lower studs.
Understanding these technical distinctions is vital for property owners navigating emergency recovery; explore our breakdown on essential steps in the water damage restoration process to learn how systematic containment prevents cross-contamination during structural drying.
Documenting moisture data for property insurance claims
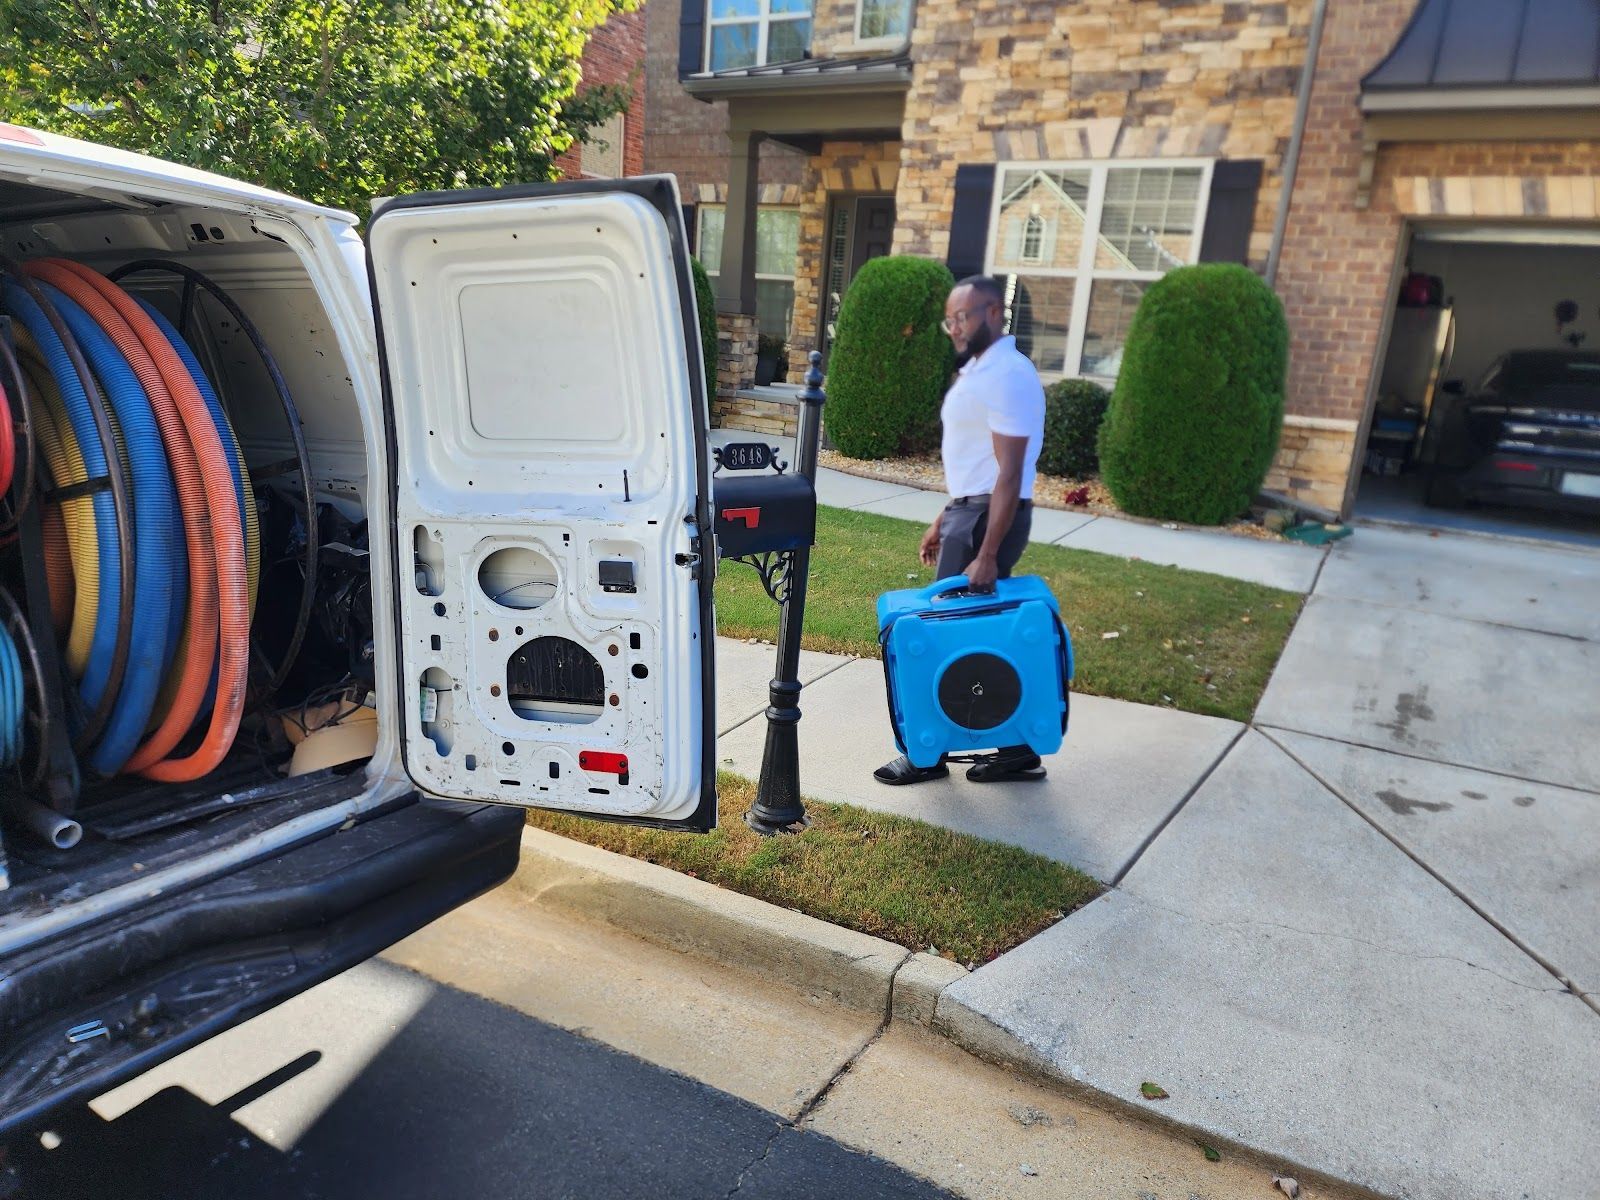
Compile structured diagnostic logs and thermal baseline imagery to give insurance adjusters the objective proof required to validate water damage claims.
Insurance adjusters evaluate claims based on empirical evidence rather than subjective visual estimates. Providing structured diagnostic logs accelerates claim approvals and eliminates disputes regarding required structural repairs.
- Daily Moisture Logs: Recorded psychrometric moisture content readings (% MC) and airborne humidity measurements (grains per pound, or GPP) tracking drying progress toward baseline targets.
- Infrared Thermal Maps: Side-by-side visual and thermal comparative photographs documenting concealed moisture spread behind finished walls.
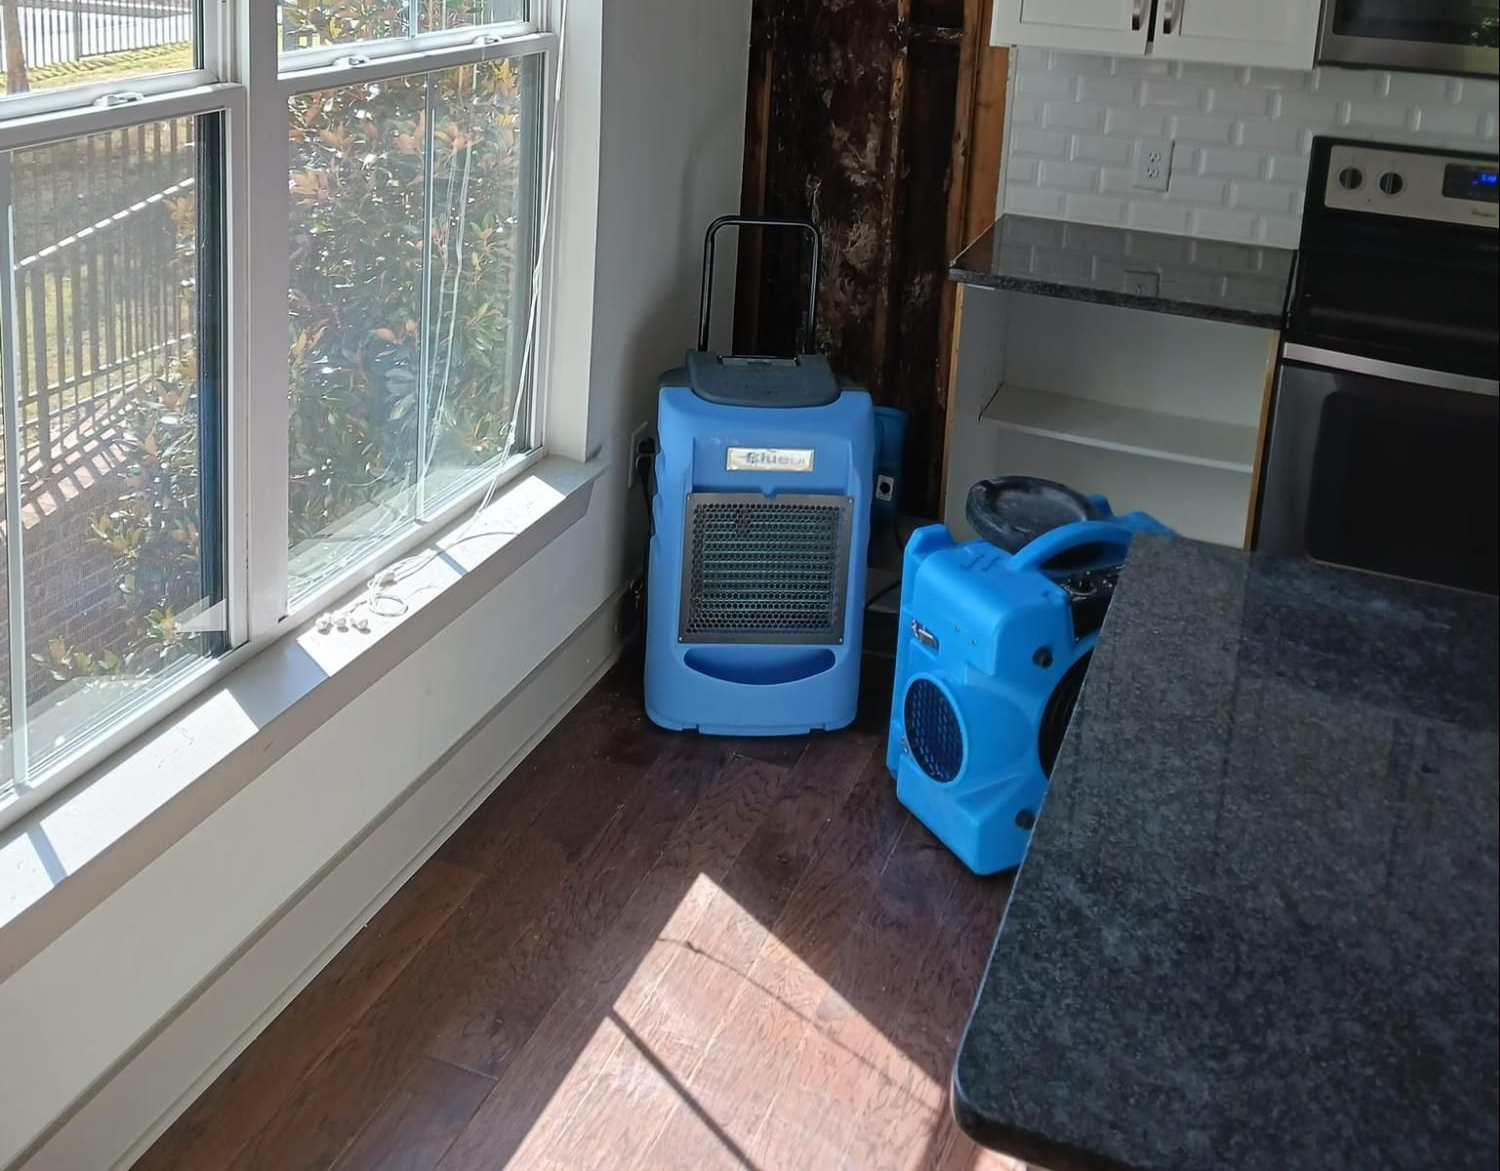
- Equipment Deployment Grid: Detailed records of air movers and commercial dehumidifiers operating on-site.
- Final Dry Certificate: Empirical proof verifying that all structural assemblies have returned to dry standard equilibrium.
When recovering from an unexpected pipe burst in Duluth, GA or across surrounding North Georgia communities, having complete moisture verification protects property value and ensures long-term structural integrity.
Restore your property with precision moisture mapping
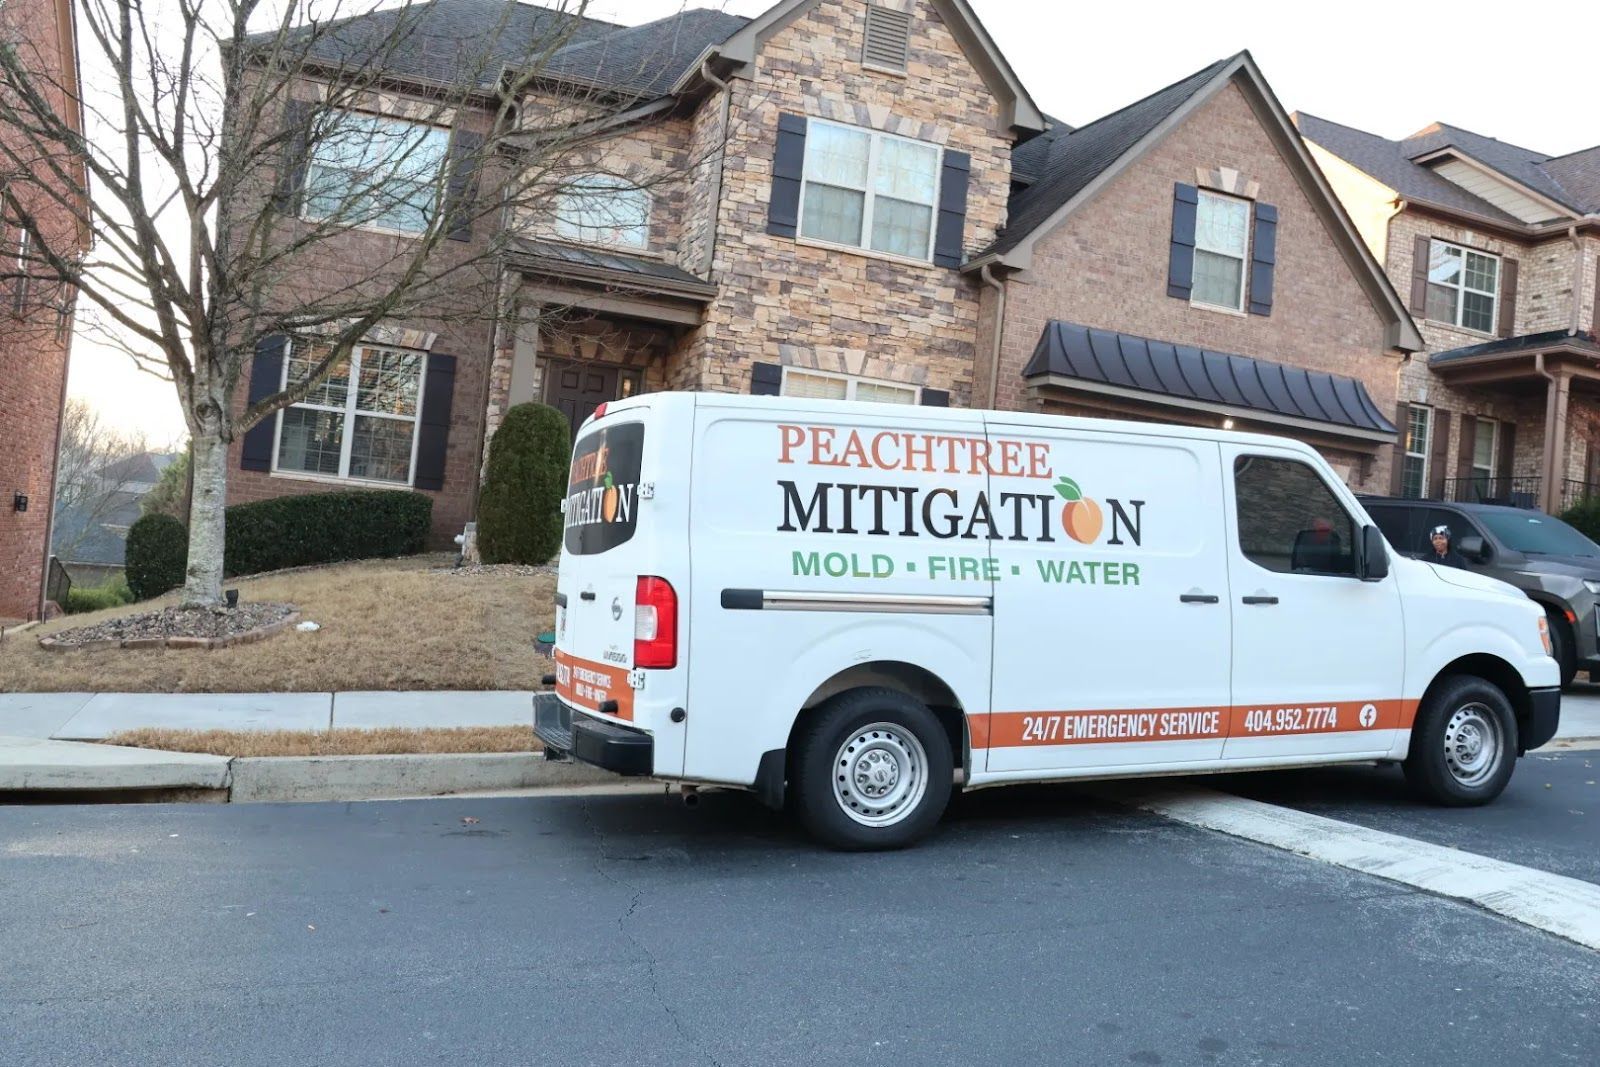
Concealed water leaks don't have to turn into long-term structural damage or hazardous mold. Quick diagnostic verification and targeted drying protect your building and restore your peace of mind.
Peachtree Mitigation in Duluth deploys advanced thermal imaging cameras, precision moisture mapping equipment, and commercial structural drying systems across Gwinnett, Fulton, and Forsyth counties to restore residential and commercial properties to pristine dry standards.
If you suspect hidden water migration behind your walls or under subflooring, contact our 24/7 emergency response team immediately.
Verified author bio
Joe Preston is a disaster recovery and structural drying specialist with over a decade of hands-on field experience directing emergency water mitigation, moisture diagnostics, and mold remediation projects across North Georgia. As part of the technical leadership team at Peachtree Mitigation, Joe specializes in advanced psychrometric monitoring, infrared building diagnostics, and insurance claims documentation, helping property owners resolve complex structural water emergencies with speed and precision.